
Add a New Provider Validation
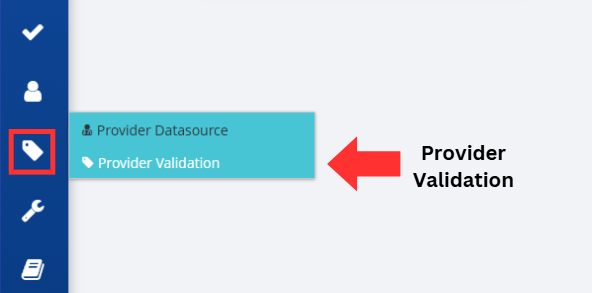
Click on the Provider Management button, followed by the Provider Validation option, located on the left-hand side of the screen.
To add a new set of validation rules, click on the Add Provider Validation button.

The following screen allows you to add settings related to the new validation rules.
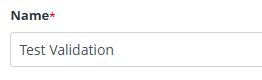
- Name – assigns a name to the validation settings.
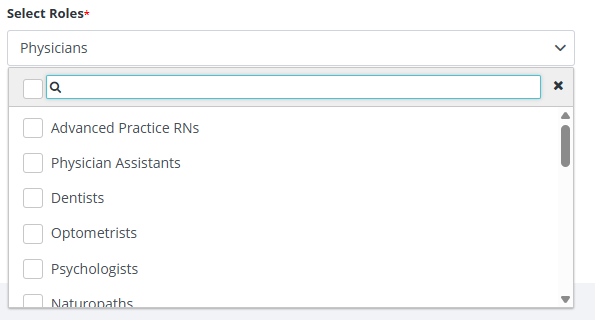
- Select Roles – add the roles that are subject to validation. Clicking the checkbox next to the search box will select/deselect all.
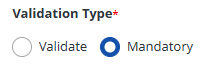
- Validation Type – if Mandatory is chosen, a query will fail if the fields are not present, while Validate will stop a query if the validation check fails.
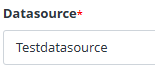
- Datasource – allows you to select a datasource to reference for the validation check. (Only present if validate is chosen for the Validation Type.)
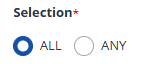
- Selection – if All is chosen, all boxes checked in the Validation Field(s) selection will be checked for validation. if Any is chosen, only one of the numbers must pass for the validation to be successful.
- Validation Field(s) – allows you to check which ID numbers are subject to validation.

Press the Save button on the right corner of the screen to add your new provider validation rules to the RxConsole for your state.

Alternatively, if you do not wish to proceed, you can press the Cancel button to discard changes and return to the previous screen.

Verify the Provider Validation was successfully created by looking for the Alert that states, "Provider Validation Created". You will also return to the Provider Validation screen and should see your new rules in the List of Provider Validations.