Create and Modify a Maintenance Event
-
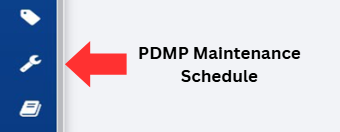
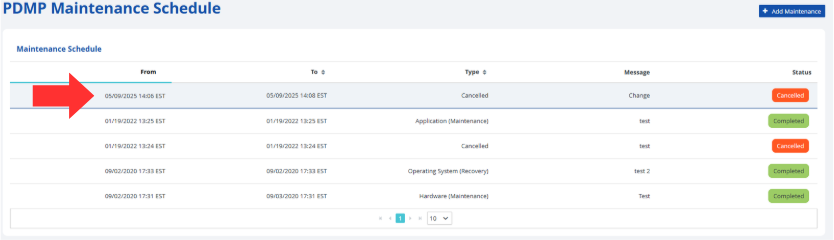
Click on the PDMP Maintenance Schedule button, located on the left-hand side of the screen.
-
Click on the Add Maintenance button located on the top right-hand corner of the screen.
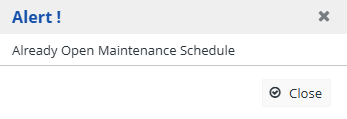
Note: You can only create a new maintenance event if no other upcoming event is scheduled. If there's a conflict, an alert message will appear.
-
A pop-up screen titled Maintenance will appear.
-

-
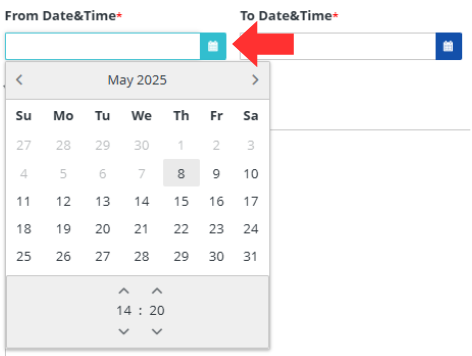
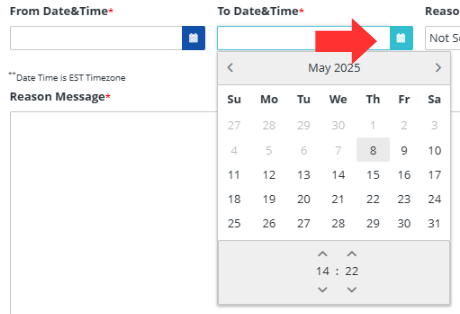
Select the start date and time by making appropriate selections in the calendar by clicking the blue calendar in the field labeled From Date&Time.
-
Select the end date and time by making appropriate selections in the calendar by clicking the blue calendar in the field labeled To Date&Time.
-
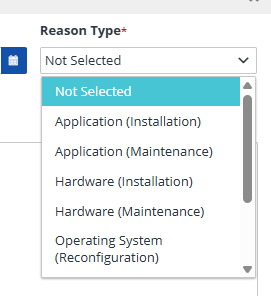
Select the reason for the maintenance event by clicking on one of the dropdown options for the field labeled, Reason Type.
-
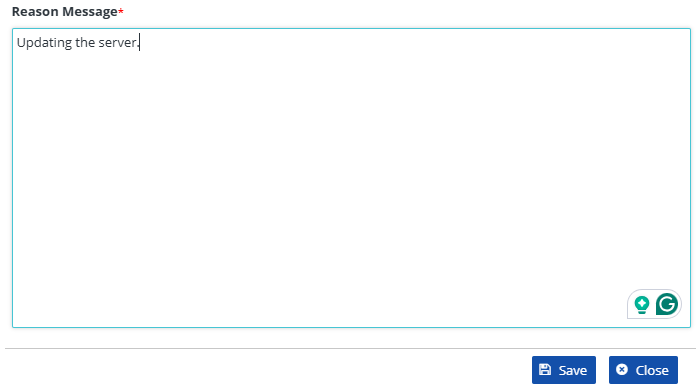
Add a note into the text box labeled, Reason Message to add context to the maintenance event.
-
Press the Save button to add the new maintenance event to the maintenance schedule in the RxConsole.

-
Alternatively, you can press the Close button to discard changes and return to the previous screen.

To modify an already existing maintenance event.
-
Click on an event listed in the Maintenance Schedule.
-
Modify any information in the Maintenance popup similar to if you were adding a new event.
-
Press the Save button to record the changes to the maintenance event in the RxConsole.
-
Alternatively, you can press the Close button to discard changes and return to the previous screen.
-
Press the Complete button to mark the event as completed.

-
Press the Cancel button to cancel the event in the maintenance schedule.
