
Search for and Update User Information
-
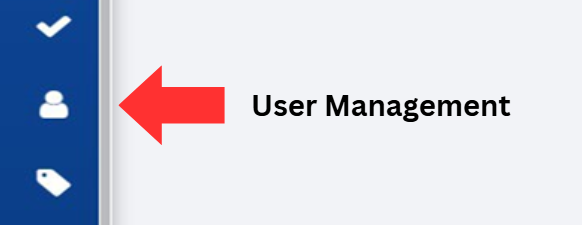
Click on the User Management button, located on the left-hand side of the screen.
-
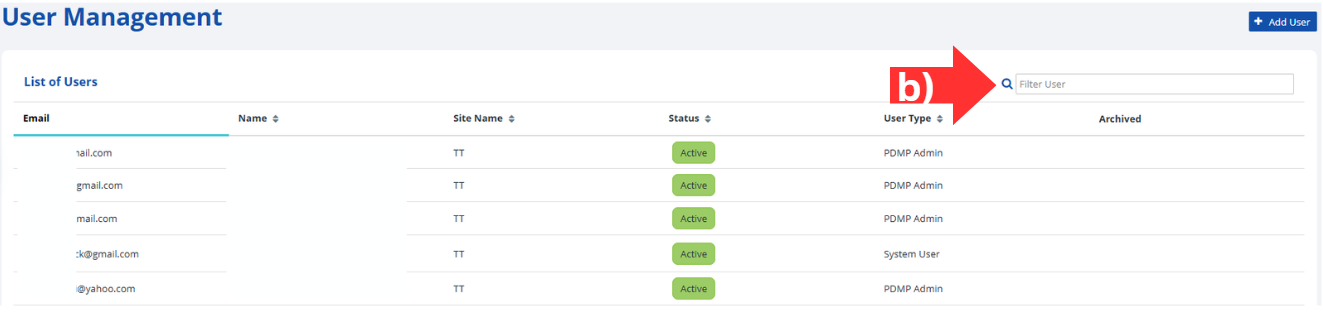
Locate the user you are searching for by:
- Scrolling through the list of users displayed on the screen, or
- Searching for a user by typing his / her name into the Filter User search bar in the top right corner of the screen.
-
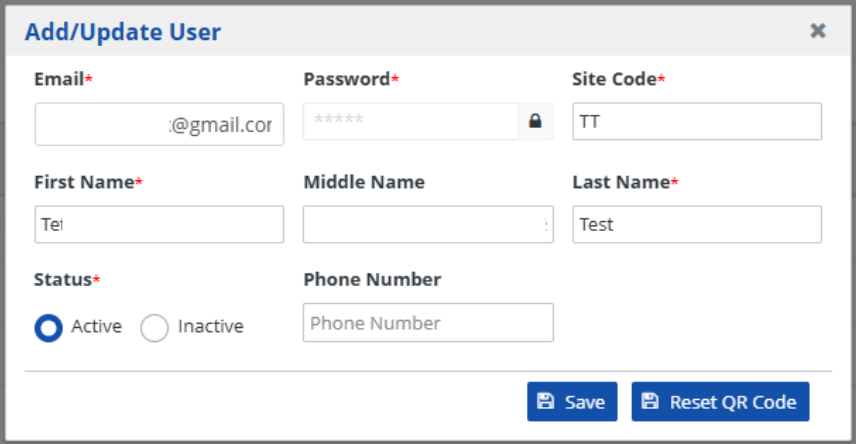
Select the desired user by clicking on their information to view or modify their existing record.
- If the user type is System User, a pop-up screen titled Add/Update User will appear.
- If the user type is PDMP Admin, a pop-up notification will appear to inform the user to reach out to the RxCheck Administrator.

-
For system users, you may edit any information (except the password) displayed in each data field.
Note: If you change any information, remember to click the Save button to record the changes. Alternatively, pressing the X in the top right will discard any changes made and exit the window.Note: Refer to the following table for a description of each data field. -
Verify that the user has been successfully updated by looking for the alert that states, "Selected User Updated Successfully".

| Heading | Description |
|---|---|
| The contact email for the HCE user and username for the RxConsole. | |
| Password | The password for the HCE user to access the RxConsole application. |
| Site Code | The site code for the HCE user. This field will be auto-populated. |
| First Name | The HCE user's first name. |
| Middle Name | The HCE user's middle name. |
| Last Name | The HCE user's last name. |
| Status | The status of this HCE user's account. Can be set to either Active or Inactive. A lock icon will be displayed if the account is locked out. |
| Phone Number | The HCE user's phone number. |
Note: See the Section titled, User Roles and Privileges in the RxConsole Application for more information about the different user roles available.